Securing your surroundings becomes a seamless endeavour by installing Lorex wired security cameras. This guide unveils a straightforward process, from choosing optimal spots to connecting cables, ensuring an easy setup. Follow our step-by-step instructions for a professional installation beyond mere camera placement—it’s a commitment to enhancing your peace of mind through the advanced technology of Lorex security solutions.
What Are Lorex Wired Security Cameras?
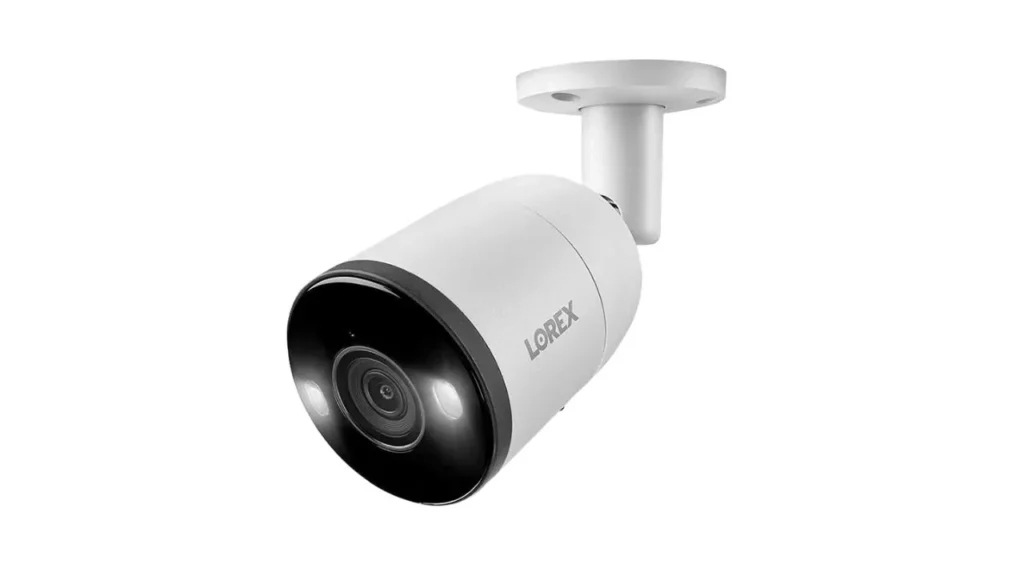
Lorex wired security cameras exemplify cutting-edge surveillance technology, embodying reliability and efficiency in safeguarding your surroundings. Under the umbrella of Lorex security cameras, these sophisticated devices are designed for seamless integration into your security infrastructure. Renowned for their high-resolution imaging and advanced features, Lorex wired security cameras protect your premises. Their hardwired connection ensures a robust and uninterrupted data flow, delivering real-time monitoring and enhancing overall security. With Lorex, you invest in a comprehensive solution that meets and exceeds modern surveillance’s stringent demands, ensuring peace of mind through unparalleled performance and innovation.
Required Tools And Materials For Lorex Wired Security Cameras
Before delving into the Lorex wired security camera installation, ensure you’ve assembled all the necessary tools and materials. This checklist provides a hassle-free setup:
- Lorex wired security camera system (complete with cameras, DVR, and cables)
- Drill
- Screwdriver
- Measuring tape or ruler
- Cable clips or staples
- Ethernet cables
- Power supply for the cameras
- Monitor or TV for viewing the camera feed
- Internet connection (optional for remote viewing)
Having these essentials ready paves the way for a smooth installation process. Double-check your inventory before progressing to the next step—planning and preparation.
Step1: Plan and prepare:
In the planning and preparation stage of installing Lorex wired security cameras, you need to consider several factors. Here are some key points to consider:
1. Determine camera locations:
Assess the areas you want to monitor and choose the specific locations for your cameras. Consider points of entry, vulnerable areas, and any particular areas of concern. Ensure that the selected sites provide a clear view of the desired areas.
2. Camera type and features:
Select the appropriate Lorex wired security cameras based on your surveillance needs. Consider factors like resolution, field of view, night vision capabilities, weather resistance, and any additional features required for your specific application.
3. Power source:
Identify the available power sources near the camera locations. Determine whether you will use standard power outlets or opt for Power over Ethernet (PoE) cameras to receive power and transmit data through a single Ethernet cable. Plan the power supply accordingly.
4. DVR/NVR placement:
Decide where to install the Digital Video Recorder (DVR) or Network Video Recorder (NVR) to store and manage the camera footage. Ensure that the chosen location is secure, easily accessible for maintenance, and has sufficient ventilation to prevent overheating.
5. Cable routing:
Plan the routing of the camera cables from each camera location to the DVR/NVR. Consider the distance, cable length required, and any obstacles you may encounter. Consider the best routes for concealing the cables or using a conduit if necessary.
6. Tools and equipment:
Gather all the necessary tools and equipment you will need for the installation, including a power drill, screws, cable clips, ladder, measuring tape, and any other tools recommended by the manufacturer.
7. Permits and regulations:
Check if any local laws or licenses are required for installing surveillance cameras. Ensure you comply with any legal requirements or restrictions in your area.
By thoroughly planning and preparing for the installation, you can streamline the process and ensure your Lorex wired security cameras are installed successfully.
Step 2: Mount the cameras:
Mounting the cameras is an essential step in installing Lorex wired security cameras. Here’s how you can mount them:
1. Gather the necessary tools:
Before you begin, gather the tools required for mounting the cameras, including a power drill, appropriate screws, and a ladder if needed.
2. Choose the camera locations:
Refer to your initial plan and select the places to mount the cameras. Ensure that these locations provide a clear view of the areas you intend to monitor.
3. Attach the camera brackets:
Using a power drill and the appropriate screws, attach the camera brackets securely to the chosen locations. Ensure the frames, such as a wall or ceiling, are firmly fixed to the surface.
4. Adjust the camera angle:
Attach the cameras to the shelves once the brackets are securely mounted. Most Lorex cameras have an adjustable hook that allows you to position them for optimal coverage. Adjust the camera angle to achieve the desired field of view.
5. Tighten the camera screws:
Once you have set the desired angle, tighten the screws on the camera brackets to secure the cameras in place. Ensure that the cameras are stable and firmly attached to the shelves.
6. Test the camera positions:
Before finalizing the mounting, it’s a good idea to test the camera positions. Power on the cameras and connect them to the DVR/NVR. Use a monitor or a mobile device to view the camera feeds and verify that they capture the desired areas effectively. Adjust the camera angles if necessary.
7. Secure the cables:
After confirming the camera positions, ensure the wires are neatly organized and secured. Use cable clips or conduits to route and protect the wires along walls or ceilings, keeping them out of sight and minimizing the risk of damage.
By carefully mounting the cameras and adjusting their angles, you can ensure optimal coverage and improve the overall effectiveness of your Lorex wired security camera system.
Step3 : Run cables:
Running the cables is a crucial step in installing Lorex wired security cameras. Here’s how you can run the lines effectively:
1. Plan the cable routes:
Before running the cables, plan the routes from each camera location to the DVR/NVR. Consider factors such as the distance, obstacles (walls, ceilings, etc.), and the most discreet and concealed paths for the cables.
2. Measure and cut the cables:
Measure the required cable length for each camera location, adding extra length for flexibility. Use a cable cutter or appropriate tools to cut the wires to the desired lengths. Ensure the cables are long enough to reach the DVR/NVR without unnecessary tension or strain.
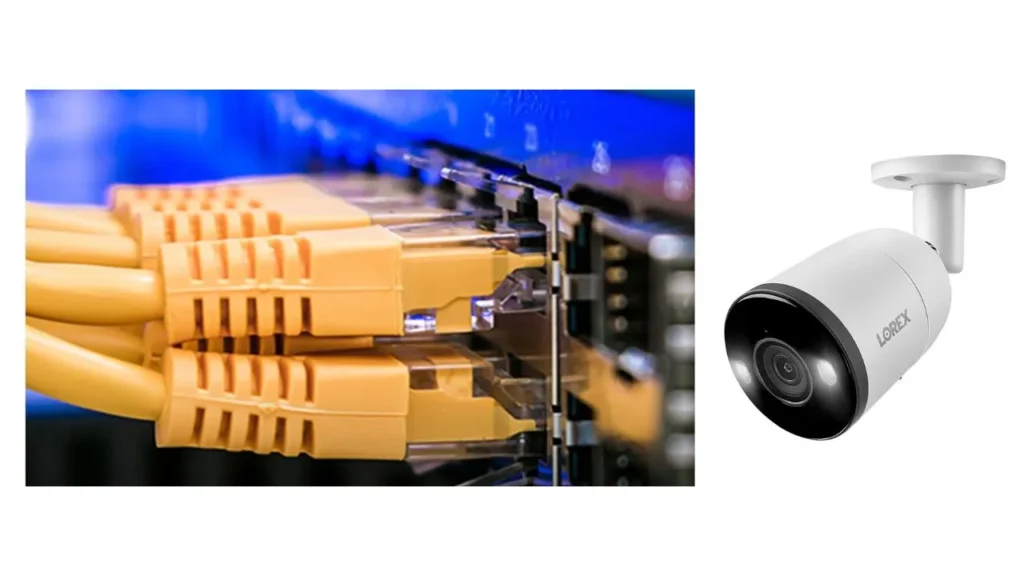
3. Run the cables:
Begin running the lines from each camera location toward the DVR/NVR. En route, the wires through attics, crawl spaces, or other concealed areas to keep them hidden. If you must run the lines externally, use cable clips or conduits to secure and protect them from environmental elements and physical damage.
4. Conceal the cables:
Whenever possible, conceal the wires along walls, ceilings, or baseboards using cable clips, adhesive channels, or conduit. This helps maintain a clean and professional appearance while protecting the cables from accidental damage.
5. Avoid interference:
Keep the camera cables separate from electrical power cables or other sources of interference to minimize potential signal degradation or interference. Cross any power lines at a 90-degree angle to reduce the risk of interference.
6. Test the cable connections:
Once all the cables are run, check the cable connections at both the camera and DVR/NVR ends. Ensure that the wires are securely connected to the appropriate ports and that there are no loose connections or damaged cables.
By carefully planning and running the cables, you can ensure a clean and organized installation of your Lorex wired security cameras. Take time to route the lines properly, ensuring they are protected and hidden from view while maintaining optimal signal quality.
Step 4: Connect the cables:
To connect the cables for your Lorex wired security cameras, follow these steps:
1. Camera end:
Take the cable from each camera and connect it to the corresponding ports on the camera itself. The specific connection method may vary depending on the camera model. Still, typically, you will find a designated port for the video signal and another port for power (if not using Power over Ethernet).
2. DVR/NVR end:
Take the other ends of the cables and connect them to the appropriate ports on the DVR/NVR. Again, the ports may vary depending on the model, but you should have designated ports for video input and power.
3. Ensure secure connections:
Ensure the cable connections are secure and properly inserted into the ports. Check for any loose connections or cables not fully plugged in. A secure connection is important for proper video transmission and power supply.
4. Repeat for each camera:
The above steps connect their respective cables to the camera, and DVR/NVR ends. Keep track of which cable is connected to which camera to avoid confusion later.
Following these steps, you can connect the cables for your Lorex wired security cameras, establishing the necessary connections for video transmission and power supply between the cameras and the DVR/NVR.
Step 5: Power the cameras:

You have a few options to power the Lorex wired security cameras depending on the camera model and your setup. Here are the general steps:
1. Power Adapters:
- Locate the power adapters that came with your Lorex cameras. These adapters convert the standard electrical outlet voltage to the appropriate power level for the cameras.
- Connect the power adapter to each camera’s designated power input port. The power input port is typically labelled on the camera or specified in the user manual.
- Plug the power adapter into a nearby electrical outlet or a power strip.
2. Power over Ethernet (PoE):
- If your Lorex cameras support Power over Ethernet (PoE), you can power them using an Ethernet cable connected to a PoE switch or injector.
- Connect one end of the Ethernet cable to the PoE switch or injector.
- Connect the other end of the Ethernet cable to the designated PoE port on each camera. The PoE port is usually labelled on the camera or specified in the user manual.
- Ensure that the PoE switch or injector is connected to a power source to supply power to the cameras.
3. Verify power supply:
- Once the power adapters or PoE connections are in place, check the cameras to confirm they receive power.
- Look for LED indicators on the cameras. They may have a power LED that lights up when the cameras successfully receive power.
- Monitor the camera feed on a connected monitor or through the DVR/NVR interface to ensure the cameras function properly.
It’s important to note that the specific power requirements and connection methods may vary depending on your Lorex camera model and system. Refer to the camera’s user manual or installation guide for detailed instructions and specific power considerations.
Always follow safety precautions when dealing with electrical connections and ensure the power source is compatible with the camera’s requirements. If you are still determining the power connections, it’s advisable to consult a professional electrician or seek assistance from Lorex support.
Step 6: Configure and test:
After installing and powering your Lorex wired security cameras, the next step is configuring and testing them. Here’s what you can do:
1. Power on the DVR/NVR:
Ensure that the DVR/NVR is powered on and connected to a monitor or TV where you can access the system’s user interface.
2. Access the user interface:
Use a computer, smartphone, or the connected monitor to access the DVR/NVR’s user interface. This is typically done by typing the device’s IP address into a web browser or using a dedicated software provided by Lorex.
3. Set up system preferences:
Follow the on-screen instructions to configure your system preferences. This may include setting the date and time, language, display options, and network settings.
4. Add cameras to the system:
In the user interface, locate the option to add cameras or devices. Follow the prompts to add each wired camera to the system. This process may involve entering specific camera information or scanning for connected cameras.
5. Configure camera settings:
Once the cameras are added, access the camera settings within the user interface. Adjust settings such as resolution, frame rate, recording mode (continuous or motion-based), and other preferences according to your requirements.
6. Test camera functionality:
Verify that each camera functions correctly after configuring the settings. Monitor the camera feeds on the connected monitor or through the user interface. If enabled, check for clear video quality, proper field of view, and accurate motion detection.
7. Test recording and playback:
Trigger motion in front of the cameras to ensure that the motion detection is working as expected and that the cameras are recording properly. Test the playback function to review recorded footage and confirm that it is being stored correctly.
8. Adjust camera positions if necessary:
If during testing you find that the camera angles need adjustment to capture the desired areas or avoid blind spots, make the necessary adjustments to the camera positions and retest.
By following these steps to configure and test your Lorex wired security cameras, you can ensure the system is properly set up and functioning as intended. Refer to the user manual or Lorex support for specific instructions about your camera model and design.
Read More:
How To Reset The Nest Outdoor Camera
How Does A Camera Stabilizer Work: A Detailed Beginner’s Guide
How To Turn Off The Ring Camera
Conclusion
In conclusion, installing Lorex wired security cameras involves meticulous planning, precise mounting, cable routing, and thoughtful configuration. By considering factors such as camera locations, features, power sources, and cable management, you lay the foundation for a robust surveillance system. Ensuring secure cable connections, powering the cameras appropriately, and thorough testing are pivotal steps for a successful setup. Ultimately, with Lorex, you install cameras and cultivate peace of mind through cutting-edge technology and reliable security solutions.